You can customise the layout of all dashboards. Any changes will be saved to your account and will not affect other users' dashboards.
All dashboards are based on a layout which has a number of rows, which are broken down into horizontal cells. Charts and cells cannot span across rows.
Changing the cell size
Hover and then click and drag the bars between each cell to change the vertical and horizontal layouts

Removing a cell
1. To remove a cell altogether, firstly remove the chart by clicking the menu and selecting Remove.
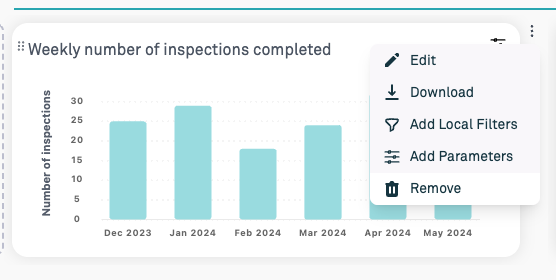
2. Once the chart has been removed, use the same process to remove the cell.
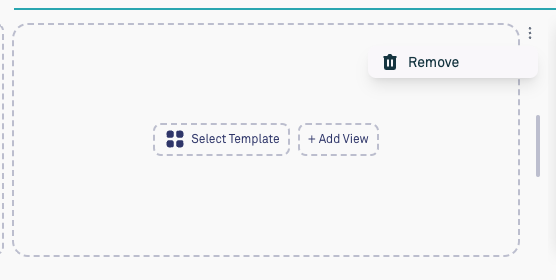
3. After removing the cell, the remaining cells in the row will expand to fill the gap.
Adding a cell
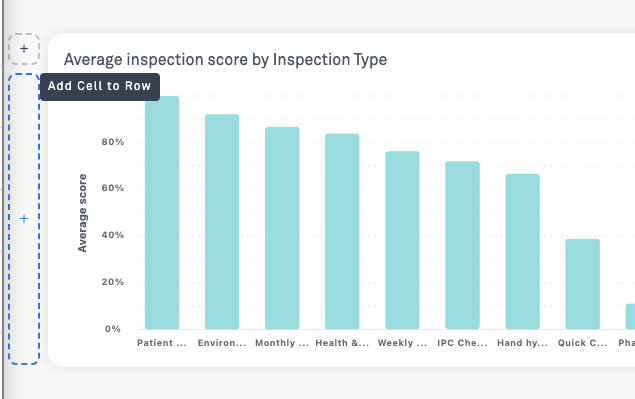
To add a cell, click on the plus button on the left hand side of the row
Adding a header
1. To add a header, click the button on top of each row on the left hand side
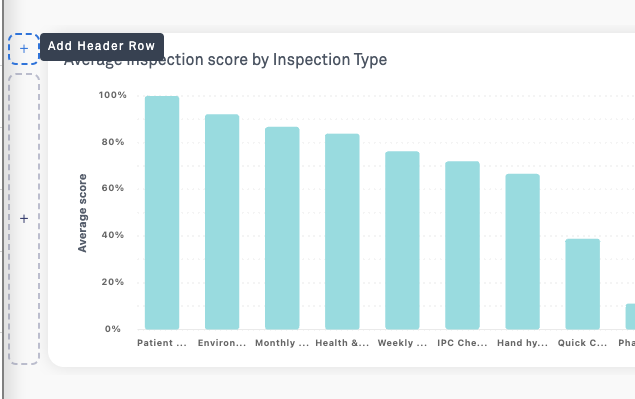
2. This will create a new header with the default title New Header.

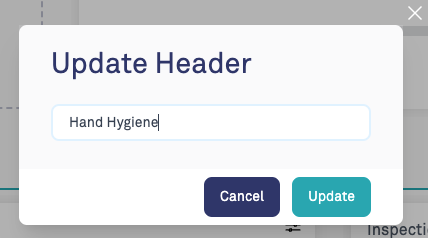
3. Click the edit button on the right hand side to edit the header text to what you need.
Was this article helpful?
That’s Great!
Thank you for your feedback
Sorry! We couldn't be helpful
Thank you for your feedback
Feedback sent
We appreciate your effort and will try to fix the article